
First, I used a grapevine wreath that I got from Goodwill for a $1. I just had to pick off all the ugly fake flowers and bam, I had a super cheap wreath. They cost a few bucks more at craft stores.

Then I used some scrap burlap I already had and began making rosettes. I did this until most of the wreath was covered. I purposefully left an open space, the size of 3 of my burlap rosettes, for the interchangeableness to happen!

And I did actually make 3 more burlap rosettes to fit in that space for when I wanted a simple but cute generic wreath.

So with those rosettes, I placed them on the wreath and figured out where the wreath parts stood up the most and placed the {hard} velcro accordingly. {I used hard just because I less of it and a lot more soft that I could make options with to stick on the wreath.}


... there you go!

Now I have a kinda big gap, but don't worry. That's where I was going to put the bow to hang to the wreath. I got some scraps, which was actually an old valance I was going to donate then decided to keep for repurposing- score! Cut a couple inches the width I wanted and then ripped the rest of the way for a frayed look.

Then I just tied it in a bow onto my wreath!


I love it already!
But I wasn't done yet... now to make some more rosettes to switch out when I felt like it. I did a couple options and the hardest part was deciding which ones to use on my wreath!

Options 1 and 2


And I went with...
Option #1!

{for now}
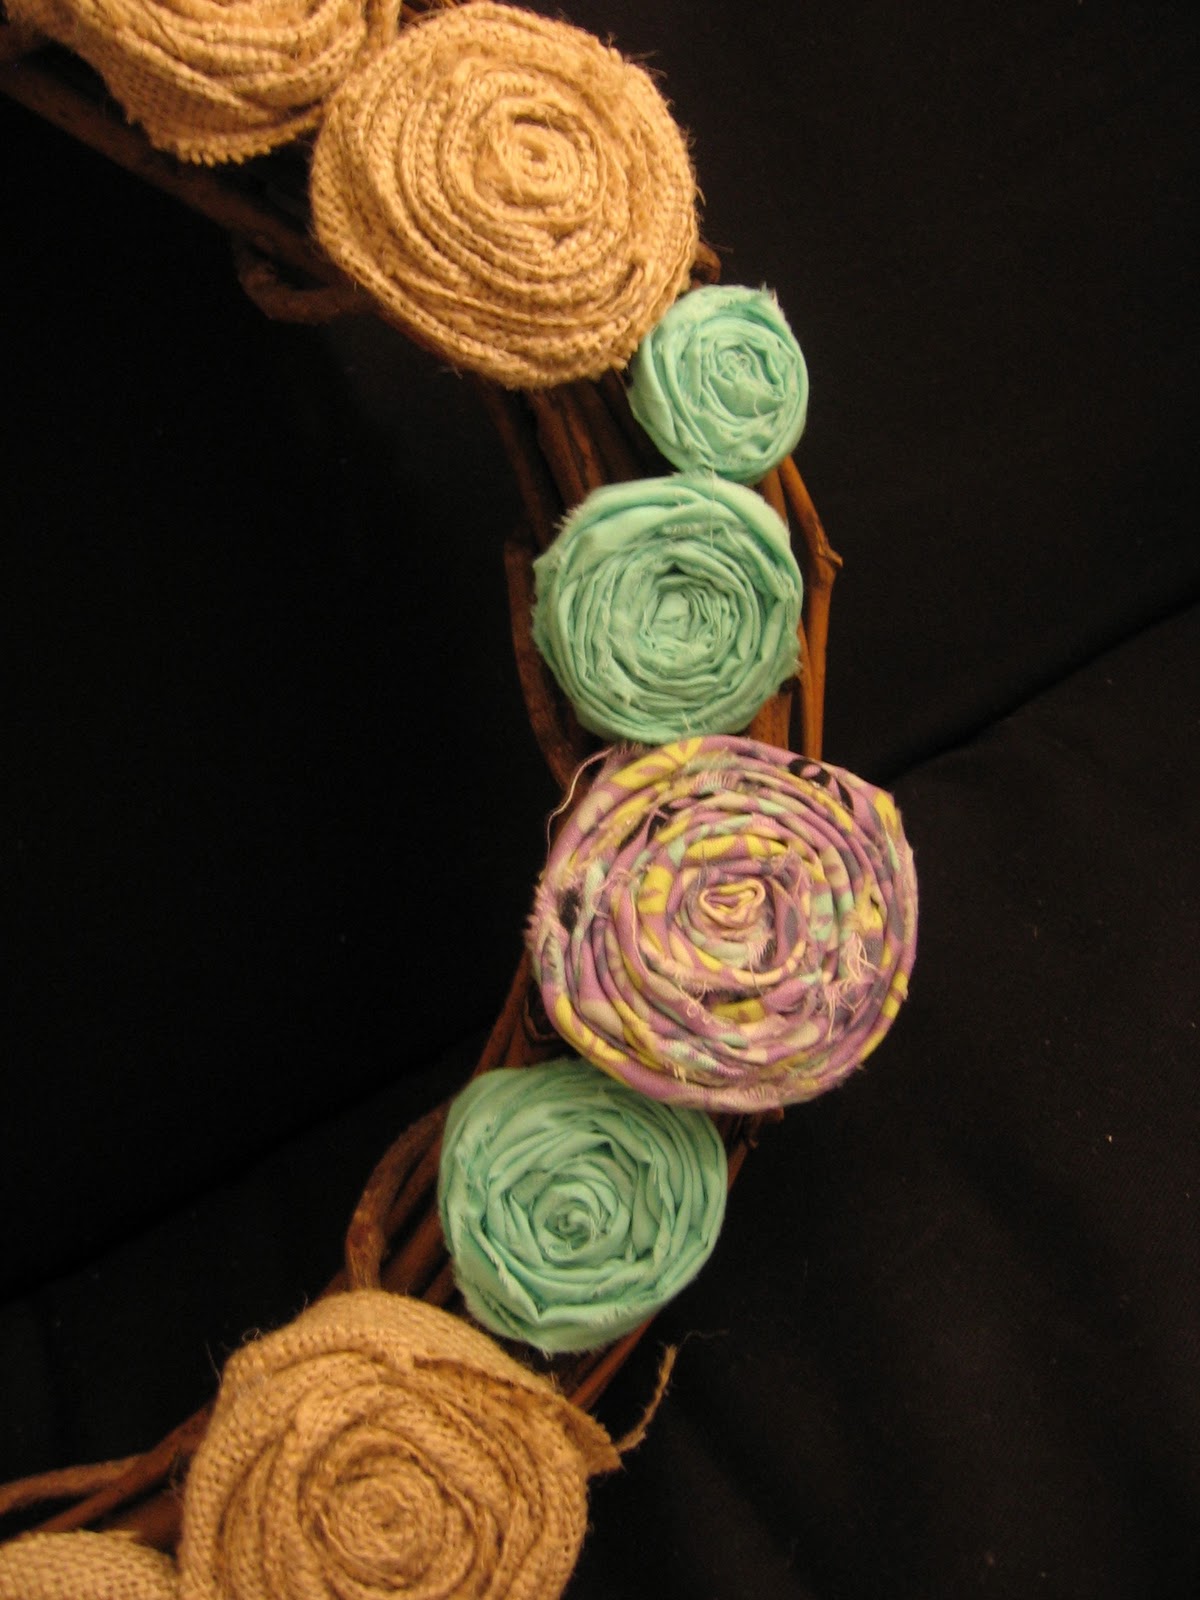
I love the touch of spring the colored rosettes add. It's simple and not crazy busy or overwhelming.
Yay for spring!
I'm SO DONE with Winter.
{Linking to these parties.}

12 comments:
OH!! I love this!! You need to teach me how to make the rosettes!
SOOO cute!!!! love it!!
I love the interchangable idea! So easy and cool! Way to go chicka! I would love it if you linked this up to the SJ Link Party.
xoxo
halsey
hahahah! You already linked it up, man I am a ditz.
h
What a great idea! I love all the upcycling, hooray for spring!
I hope you'll visit me too,
www.christiniyogini.blogspot.com
have a great day!
ahhhhhh SO CUTE! i love it.
This is so cute and what a great idea making the rosettes interchangeable!
Thanks for sharing!
Cara @ miscellaneousme.wordpress.com
I love the idea of adding the flowers with velcro and making them interchangable--genius! I made a wreath for spring, as well. Can't wait for this winter weather to be on its way! Stop by sometime and check it out, along with my two giveaways for this week. :)
morrowsunshine.blogspot.com
hiya great project and tutorial , i am visitng from handy man crafty woman and i am your newest follower too hope you can visit me too
xmaggiex
This is so great! Thanks for linking up to Wicked Awesome Wednesday!
yeppers, crazy lady. I am featuring you today on SJ.
xoxo
Halsey
Jenna, what a great idea!! I love it! Thanks so much for linking up to Try it Tuesday at DotDotDot, I will be featuring your wreath today!! Have a happy Monday!
Tasha
Post a Comment